A Fresh Start: DIY Spring Wreath Ideas for Your Home
As the days grow lighter and the first signs of spring appear, it’s the perfect moment to refresh your home with something simple and seasonal. A handmade spring wreath brings together natural textures, soft colour, and a sense of renewal, creating a warm welcome right at your door or on your table.

Written by Hester Macdonald, Swiss Gardening School

Spring is right around the corner, and what better way to enjoy it than by bringing it right to your door! Wreaths are often used to decorate doors at Christmas, but it’s also a very nice way to appreciate the spring season too. You can easily make your own at home with some simple craft supplies, readily available at most DIY or craft stores or online.
You will need:
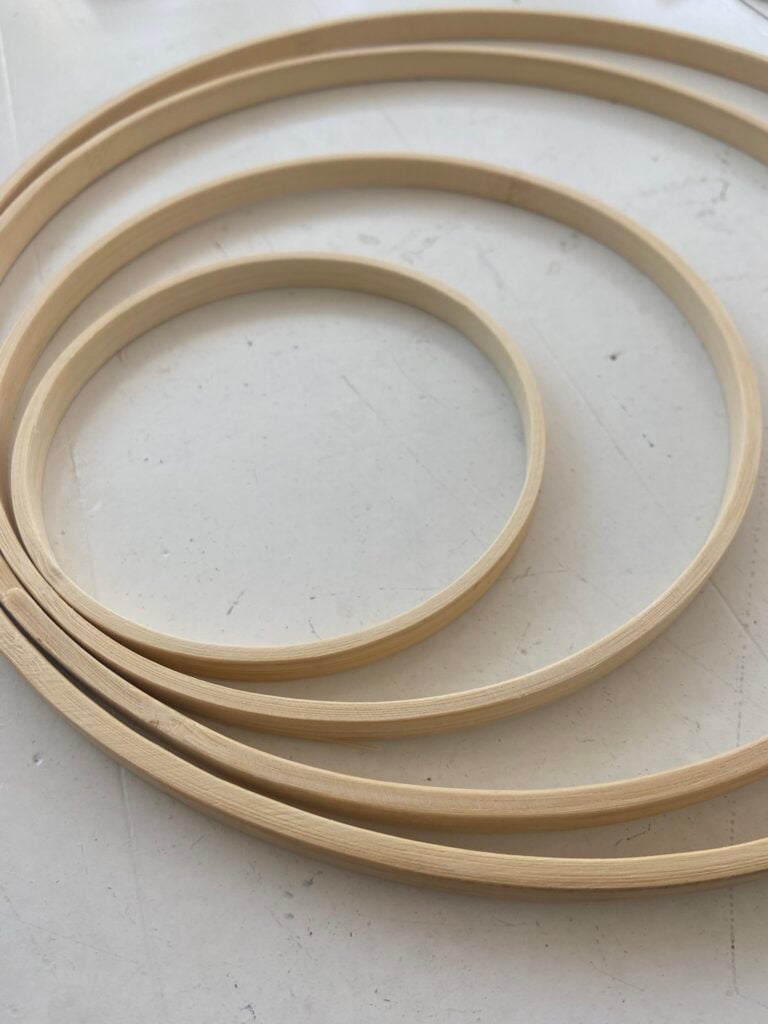
Wreath Base
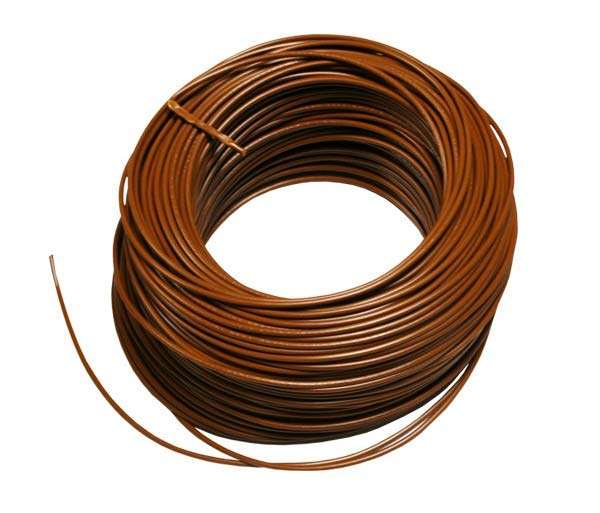
Brown Wire
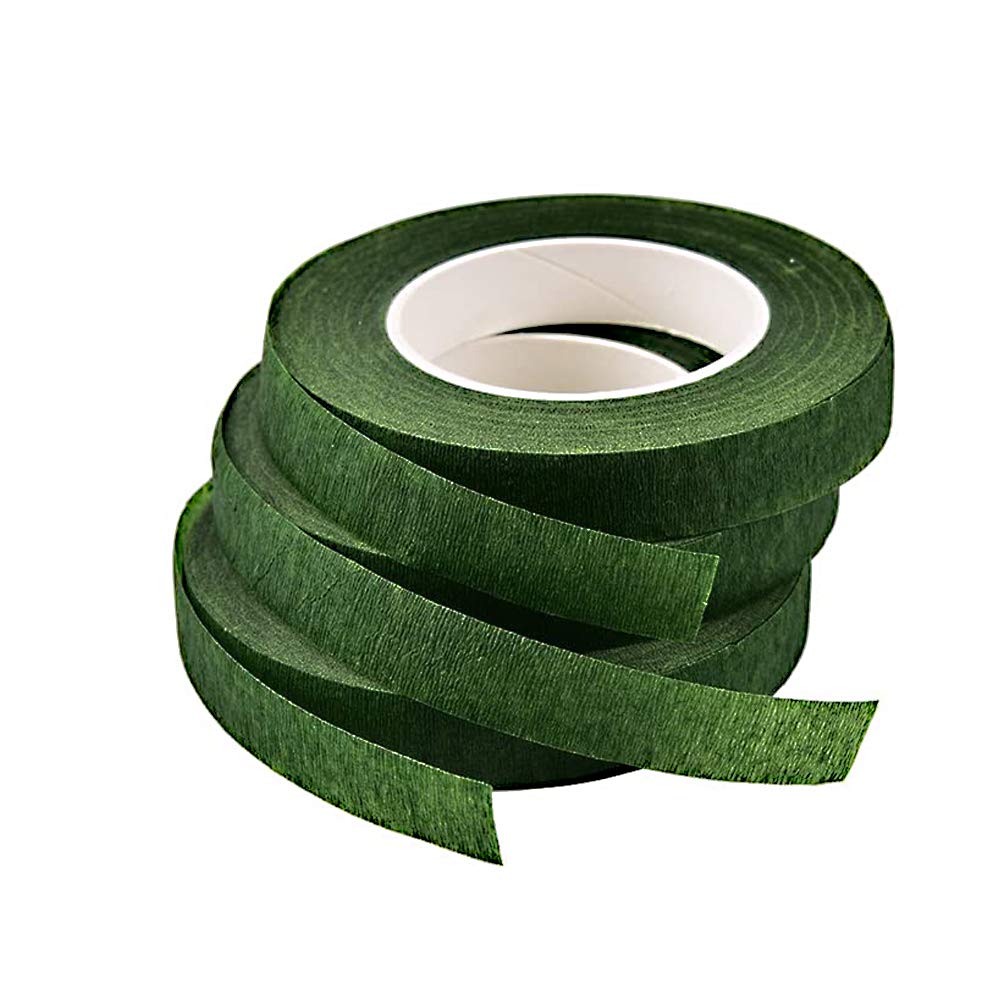
Floral Tape
Twigs
Stems/Branches
Live daffodil, grape hyacinths or tulip bulbs, ready to flower
Live daffodil, grape hyacinths or tulip bulbs, ready to flower
A good wreath starts with a good base. You can make your own from willow or dogwood, pick a nice flexible piece of stem that will bend easily, wrap the two ends over each other and secure with floral tape. In our courses at the Swiss Gardening School, we use a variety of different hoops, depending on what the style and volume of the material is that will be added. For our Spring Wreaths course, we use lightweight bamboo hoops in a range of sizes. Students can choose a large one for a door or smaller ones for table decorations.
The first layer of decoration for a spring wreath is intended to provide volume and to cover up the construction underneath and the elements to follow. I particularly like using birch twigs, as they curve easily, they’re a nice glossy brown colour and the twigs can be arranged to cover up all kinds of tape or wire. Birch trees drop lots of twigs, so you can easily collect them from the ground in parks. If the wreath is intended to be table decoration, you can attach this first layer with wire or string, as it won’t matter if it slides round the hoop. If it’s to be used as a door decoration, it’s better to use tape as this will keep each piece where you want it and they won’t slide to the bottom of the hoop!
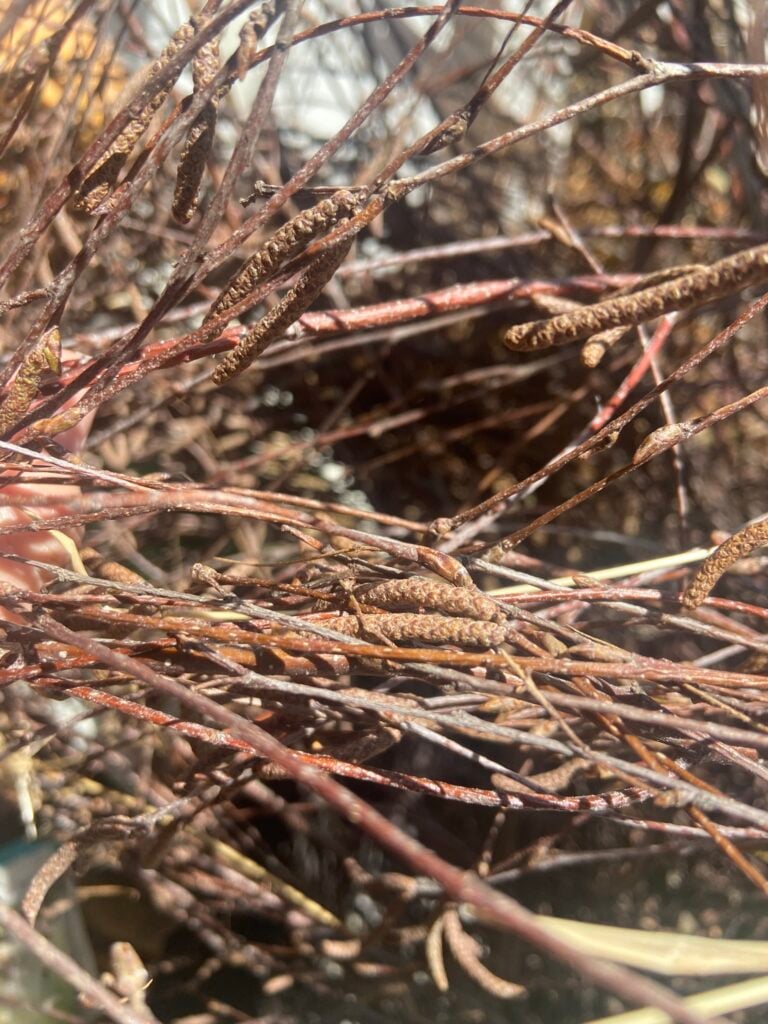
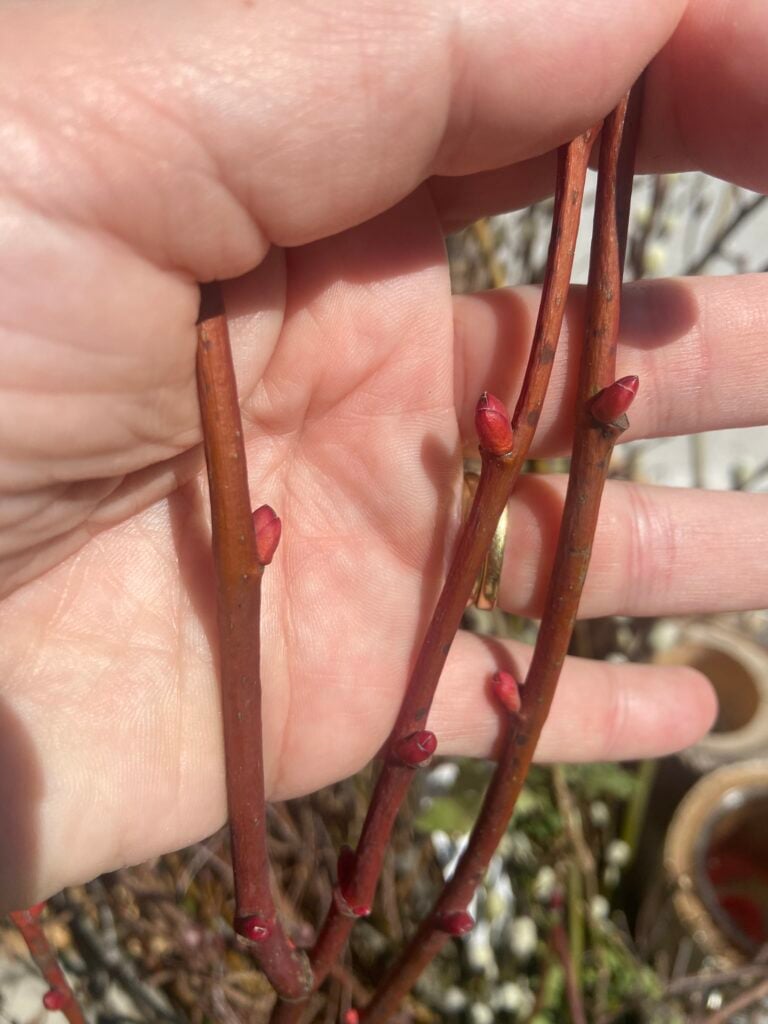
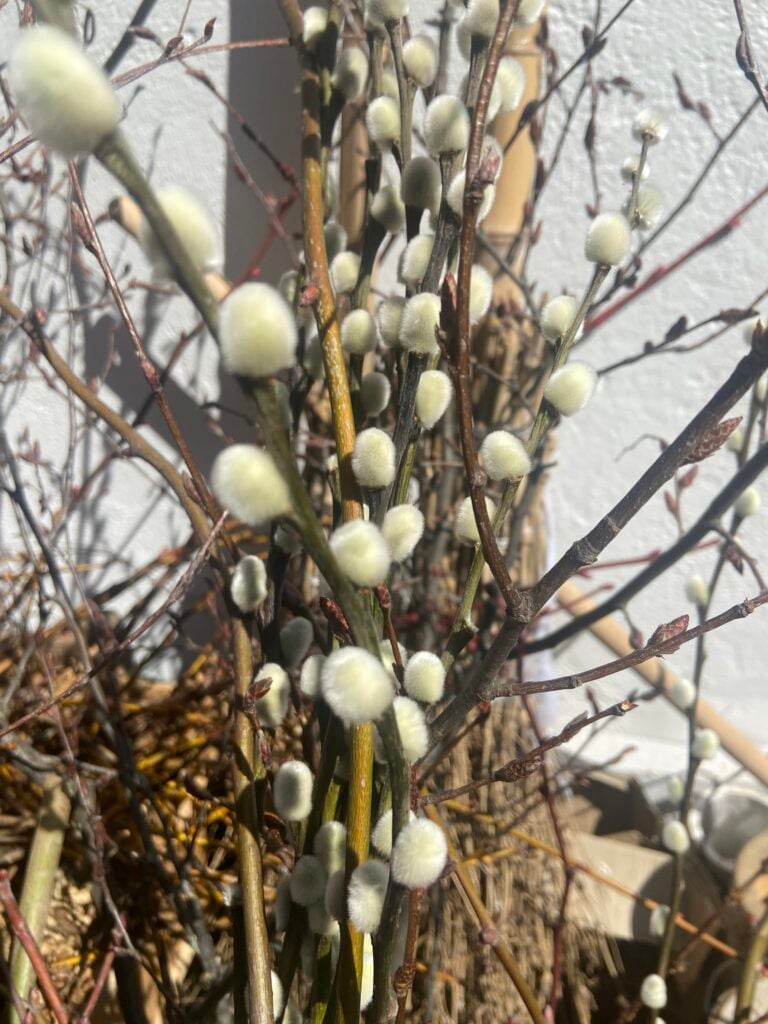
The next layer is to provide colour and textural accents in contrast to the birch twigs. I love willow catkins for their cute fluffy buttons. They are often available for sale in garden centres and florists, and you only need one or two stems for each wreath. Dogwood stems can also provide a bright pop of colour that stand out well against the brown of the birch. Cut sections with secateurs and tuck them into the birch stems, securing the ends discreetly with brown wire or floral tape.
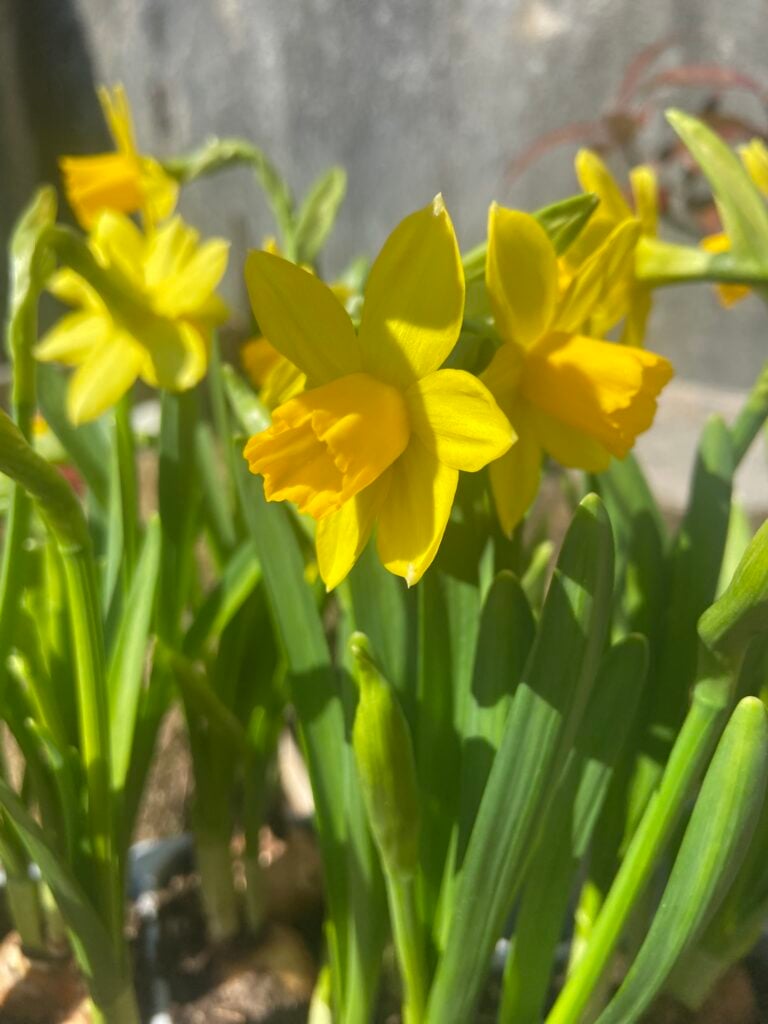
The last layer is the most fun, creating kokedama, or moss balls, with live bulbs. A “real” kokedama is intended to live for a long time inside the moss cocoon, but these are intended to survive until the flowers are finished, then you can unwrap them, plant the bulbs outside or switch them for different spring flowering bulbs. The bulbs can be bought from any garden centre, planted up and ready to flower. Pick a bulb with a healthy stem and a flower bud, and take it out of the pot. Brush off some of the soil from around the roots and then wrap the bulb and roots in moss.
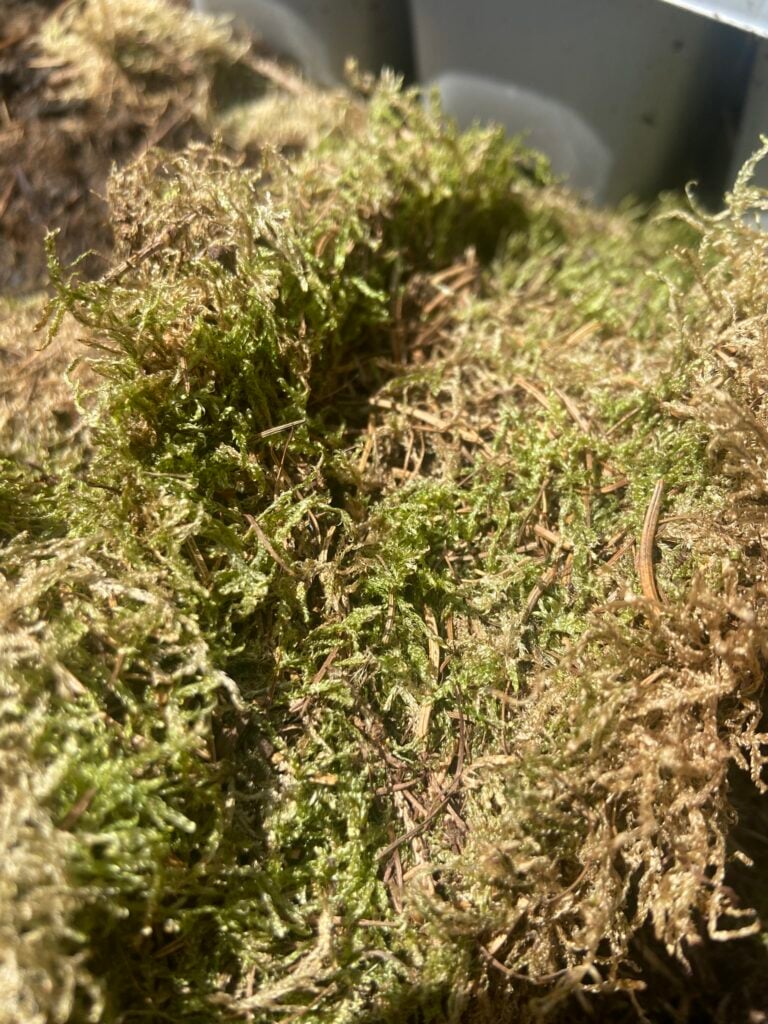
The moss can be bought from garden centres or scraped up off your lawn. Keep the moss attached by wrapping wire or string around the moss ball. You can disguise your wrapping with ivy or other robust evergreen leaf. Tuck your kokedama into the interior of the wreath base, wiring it in for stability. Spritz it with water to keep it moist and extend the flowering life of the bulbs.
Your wreath is ready to go on the door or the table!
When you’re taking it apart, almost everything can be recycled into the compost heap or saved for another activity.